How to Properly Clean and Maintain Waterproof Headphones

Introduction
Waterproof headphones are essential for swimmers, athletes, and anyone who exercises in wet conditions. However, exposure to water, sweat, chlorine, and salt can take a toll on even the most durable headphones. Proper cleaning and maintenance not only extends the life of your waterproof headphones but also ensures optimal sound quality and hygiene.
In this comprehensive guide, we'll show you exactly how to clean and maintain your waterproof headphones to keep them performing like new for years.
Why Cleaning Waterproof Headphones is Essential
Health and Hygiene
- Prevents bacteria and fungus growth
- Reduces risk of ear infections
- Eliminates unpleasant odors
- Maintains skin-safe contact
Performance and Longevity
- Prevents sound quality degradation
- Protects waterproof seals
- Extends battery life
- Maintains button functionality
- Prevents corrosion of charging ports
Cost Savings
- Extends product lifespan by 2-3 years
- Prevents expensive repairs or replacements
- Maintains warranty validity
Understanding Your Waterproof Headphones
IP Rating Explained
IPX7: Can be submerged in 1 meter of water for 30 minutes
IPX8: Can be submerged deeper than 1 meter (manufacturer specifies)
IP68: Complete dust and water protection
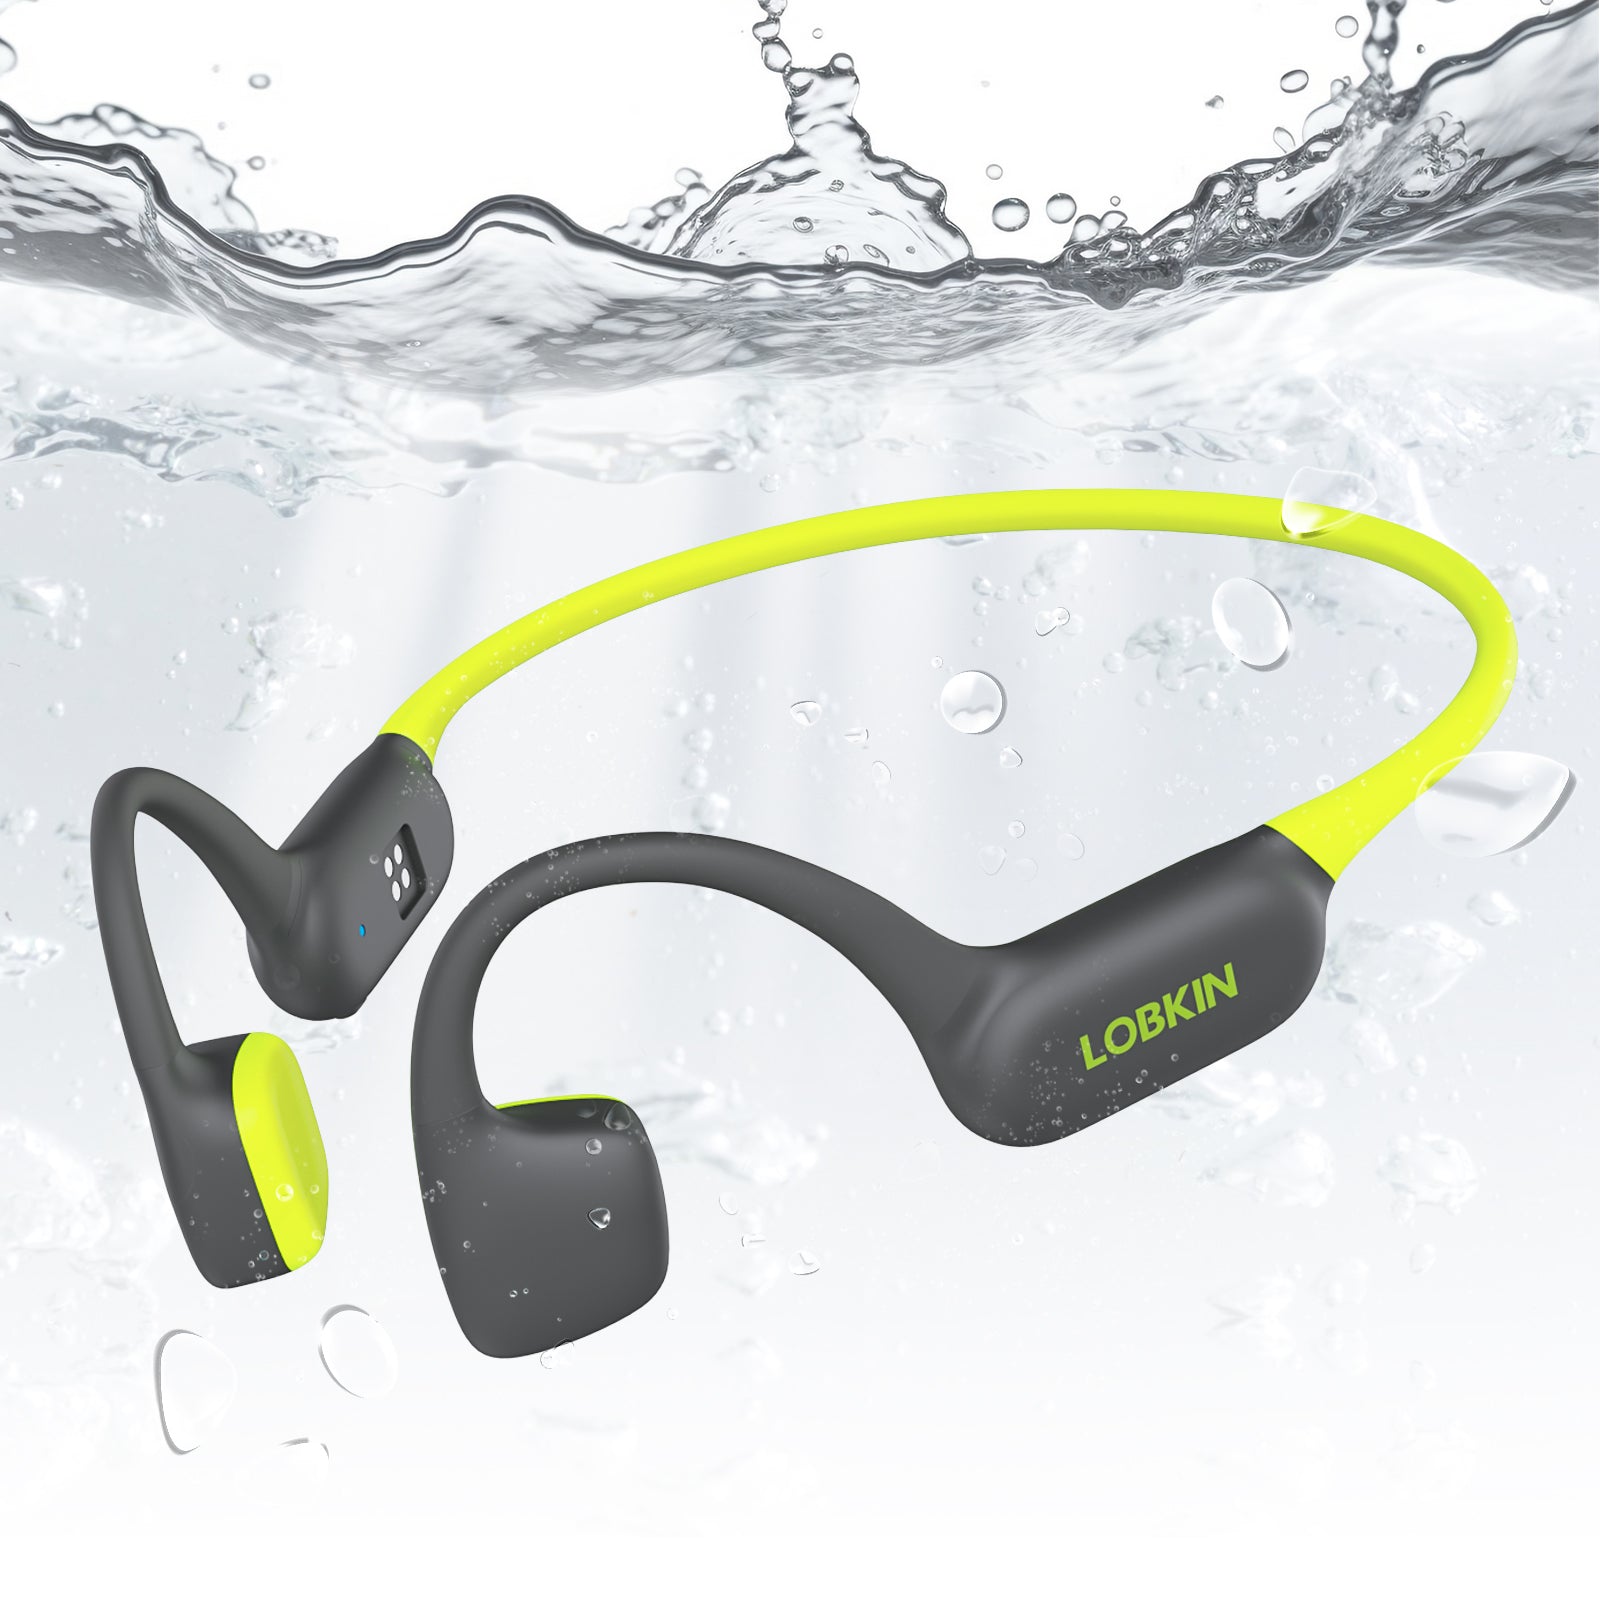
LOBKIN Swimming Headphones: Our X18, X21, and X21-Green models feature IP68 rating for maximum protection.
Critical Areas to Protect
- Charging port and seals
- Button mechanisms
- Speaker mesh
- Waterproof gaskets
- Bone conduction transducers (if applicable)
Daily Cleaning Routine (After Each Use)
Step 1: Rinse with Fresh Water
Why: Removes chlorine, salt, sweat, and debris
How to do it:
- Turn off headphones completely
- Hold under lukewarm running water (not hot!)
- Gently rinse all surfaces for 30-60 seconds
- Pay special attention to crevices and buttons
- Shake gently to remove excess water
Important: Always rinse after swimming in chlorinated or salt water, even if they're waterproof!
Step 2: Wipe Down
Materials needed:
- Soft, lint-free microfiber cloth
- Clean, dry towel
Process:
- Gently pat dry all surfaces
- Wipe speaker mesh carefully
- Dry around buttons and ports
- Don't press too hard on speaker areas
Step 3: Air Dry Completely
Best practices:
- Place in well-ventilated area
- Keep charging port open to air
- Don't use hair dryers or heat sources
- Allow 2-3 hours drying time minimum
- Store only when completely dry
LOBKIN Tip: Never charge wet headphones! Always ensure they're completely dry first.
Weekly Deep Cleaning
Materials You'll Need
- Mild soap (dish soap or baby shampoo)
- Soft-bristled toothbrush (dedicated for headphones)
- Microfiber cloths (2-3)
- Cotton swabs
- Isopropyl alcohol (70% concentration)
- Small bowl of lukewarm water
Step-by-Step Deep Clean
1. Prepare Cleaning Solution
Mix 1-2 drops of mild soap with 1 cup of lukewarm water. Don't use harsh chemicals, bleach, or abrasive cleaners.
2. Clean the Body
- Dip soft cloth in soapy water and wring out excess
- Gently wipe all surfaces
- Use toothbrush for textured areas
- Clean around buttons carefully
- Rinse cloth and wipe again with clean water
3. Clean Speaker Mesh
Critical area - be gentle!
- Use barely damp cotton swab
- Gently dab (don't rub) the mesh
- Remove any visible debris
- Let air dry completely
4. Clean Ear Tips/Contact Points
For models with removable ear tips:
- Remove ear tips carefully
- Wash with soapy water
- Rinse thoroughly
- Air dry completely before reattaching
For bone conduction contact points:
- Wipe with damp cloth
- Use cotton swab for detailed cleaning
- Ensure no residue remains
5. Disinfect (Optional but Recommended)
- Dampen cloth with 70% isopropyl alcohol
- Wipe all surfaces that contact skin
- Don't use alcohol on speaker mesh
- Let air dry (alcohol evaporates quickly)
6. Clean Charging Port
Be extremely careful here!
- Use dry cotton swab to remove debris
- Gently blow out any dust
- Never use liquids in charging port
- Ensure port seal is intact
7. Final Rinse and Dry
- Rinse entire headphones with clean water
- Shake out excess water
- Pat dry with microfiber cloth
- Air dry for 3-4 hours minimum
Monthly Maintenance Checklist
Inspect Waterproof Seals
- Check charging port seal for cracks or wear
- Ensure all gaskets are intact
- Look for any gaps or separations
- Test seal integrity (see testing section below)
Check for Damage
- Inspect for cracks in housing
- Check buttons for proper function
- Test all features (Bluetooth, MP3, etc.)
- Verify sound quality hasn't degraded
Deep Clean Charging Contacts
- Use dry cotton swab on contacts
- Remove any corrosion with isopropyl alcohol
- Ensure contacts are shiny and clean
- Let dry completely
Replace Worn Parts
- Replace ear tips if worn or torn
- Replace charging cable if frayed
- Contact manufacturer for seal replacements if needed
Product-Specific Care
Swimming Headphones (X18, X21, X21-Green)
Special considerations:
- Always rinse after pool or ocean use
- Check MP3 storage port seal
- Clean bone conduction pads gently
- Store in provided case
- Test waterproof seal monthly
Chlorine exposure:
- Rinse immediately after pool use
- Chlorine can degrade seals over time
- Consider fresh water rinse for 2-3 minutes
Bone Conduction Headphones (X10, X25)
Transducer care:
- Clean contact pads after each use
- Remove sweat and oils promptly
- Don't press hard when cleaning
- Ensure pads remain smooth
Kids Headphones (S16, S31, S33)
Extra hygiene focus:
- Clean more frequently (kids = more germs!)
- Disinfect weekly
- Check for food debris
- Teach kids proper storage
Common Cleaning Mistakes to Avoid
❌ DON'T:
- Use hot water: Can damage seals and electronics
- Submerge in cleaning solutions: Even if waterproof
- Use harsh chemicals: Bleach, ammonia, or abrasive cleaners
- Scrub speaker mesh hard: Can damage delicate components
- Charge while wet: Can cause short circuits
- Use compressed air: Can force water deeper inside
- Put in dishwasher/washing machine: Will destroy headphones
- Use sharp objects: To clean ports or remove debris
✅ DO:
- Use lukewarm water only
- Be gentle with all cleaning
- Allow complete drying time
- Store properly when dry
- Follow manufacturer guidelines
- Replace worn parts promptly
Testing Waterproof Seal Integrity
Simple Water Test (Do Monthly)
- Ensure all ports are sealed
- Fill sink with clean water
- Submerge headphones for 30 seconds
- Remove and dry exterior
- Check for water inside (look through any transparent areas)
- Test functionality immediately
Warning: If water gets inside, stop using immediately and contact support.
Proper Storage
Daily Storage
- Store in provided case or pouch
- Keep in cool, dry place
- Avoid direct sunlight
- Don't store while wet
- Keep away from sharp objects
Long-Term Storage (1+ months)
- Clean and dry completely
- Charge to 50-60%
- Store in original case
- Keep in temperature-controlled environment
- Check and recharge every 2-3 months
Troubleshooting Common Issues
Muffled Sound After Water Exposure
Solution:
- Shake out excess water
- Use dry cloth to absorb water from mesh
- Let air dry for 4-6 hours
- Sound should return to normal
Buttons Not Responding
Solution:
- Clean around buttons with dry cloth
- Remove any debris
- Let dry completely
- Test after 24 hours
Charging Issues
Solution:
- Clean charging contacts
- Ensure port is completely dry
- Check for corrosion
- Try different cable
- Contact support if persists
Unpleasant Odor
Solution:
- Deep clean with soap and water
- Disinfect with isopropyl alcohol
- Air dry in sunlight (indirect) for 2 hours
- Replace ear tips if odor persists
When to Seek Professional Help
Contact LOBKIN support if you experience:
- Water inside despite proper sealing
- Persistent sound quality issues
- Charging port damage
- Cracked housing
- Seal degradation
- Any safety concerns
LOBKIN Warranty and Support
All LOBKIN waterproof headphones come with:
- 12-month manufacturer warranty
- Free replacement for defective seals
- Email support: support@lobkin.com
- Detailed user manuals
- Video cleaning tutorials
Important: Warranty doesn't cover damage from improper cleaning or maintenance.
Quick Reference Cleaning Schedule
| Frequency | Tasks | Time Required |
|---|---|---|
| After Each Use | Rinse, wipe, air dry | 5 minutes |
| Weekly | Deep clean with soap | 15 minutes |
| Monthly | Inspect seals, test waterproofing | 20 minutes |
| Quarterly | Replace ear tips, deep maintenance | 30 minutes |
Conclusion
Proper cleaning and maintenance of your waterproof headphones is simple but essential. By following this guide and establishing a regular cleaning routine, you'll ensure your headphones remain hygienic, perform optimally, and last for years to come.
Remember, LOBKIN waterproof headphones are built to withstand tough conditions, but they still need proper care. A few minutes of maintenance after each use can prevent problems and extend the life of your investment.
Start implementing these cleaning practices today and enjoy crystal-clear sound and reliable performance from your waterproof headphones!